3D Forming Steps to Save You Valuable Design Money
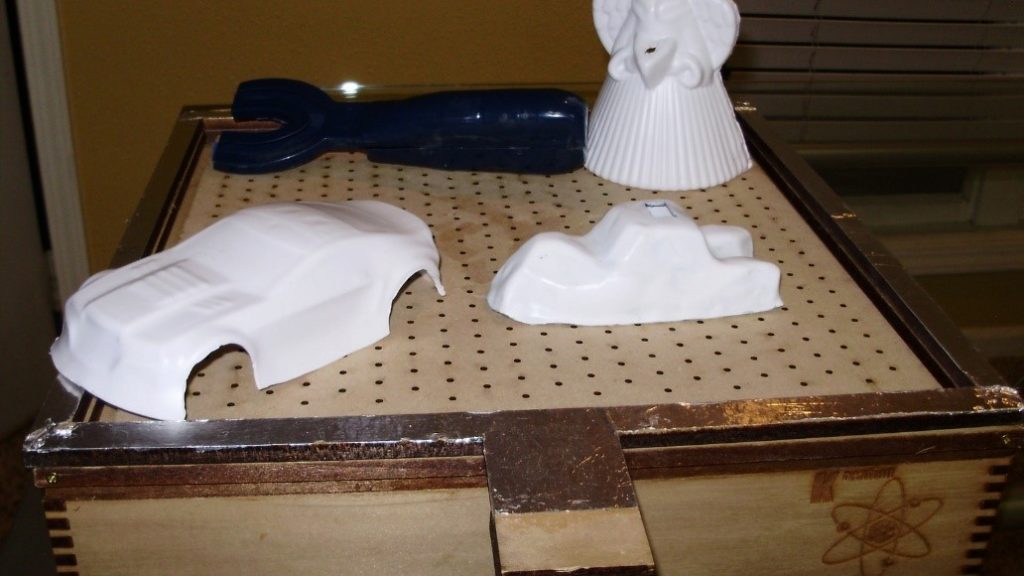
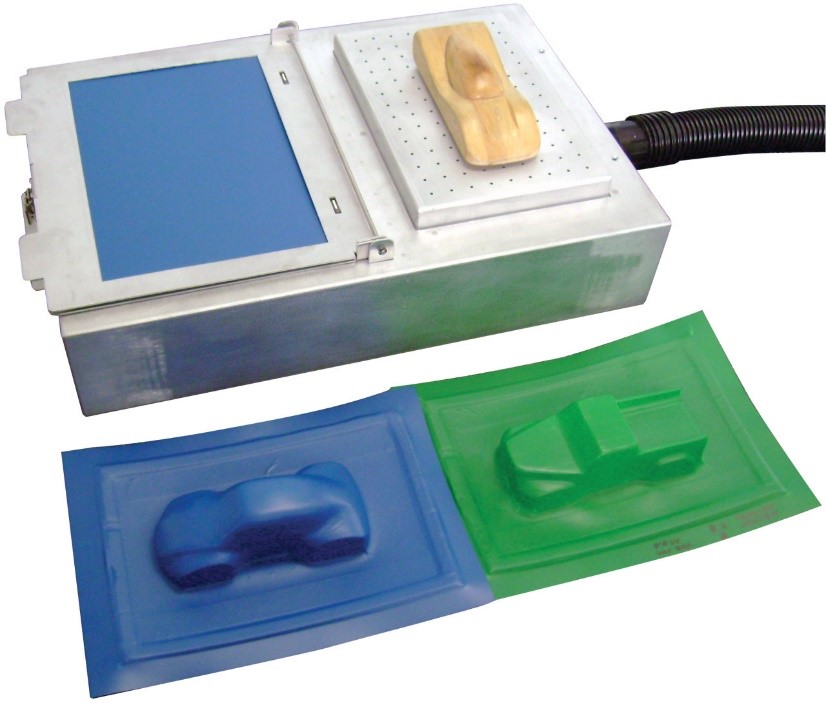
3D Forming is a revolutionary way to save money when designing and manufacturing many products such as decoration, toys, pastry, art, gadgets and jewelry. It is basically a quick, easy and affordable way to create product molds depending on the equipment and material you choose to use. There are several approaches to 3D forming but the basic concept involves a sturdy molding material, the template, some heat and a strong vacuum. There are already several kits and equipment available on the market as well as do-it-yourself approaches to 3D forming.
3D forming can be applied to re-making or copying existing products, as well as creating molds (also known as tools) for new ones.
The sturdy molding material mentioned is basically a plastic sheet made from the following materials:
- ABS (Acrylonitrile Butadiene Styrene) – a sturdy plastic material similar to lego bricks
- PVC (Polyvinyl Chloride) – used for plastic pieces, etc.
- PMMA (Polymethylmethacrylate) – used mostly for Designer lighting
- PE (Polyethylene) – familiar material used mostly in plastic bottles.
- PP (Polypropylene) – used for various household objects
- PS (Polystyrene) – used for packaging.
- PC (Polycarbonate) – also mostly used for bottles
- PETG (Polyethylene Terephthalatemodified withGlycol) – best for packaging or use with food. Best for pastries.
- HIPS (High Impact Polystyrene) – commonly used for disposable dishes.

These materials are usually available from plastic distributors in the form of large sheets which can be cut or pre-cut depending on the 3D forming equipment being used.
Next depending on the equipment, prepare a powerful vacuum device or vacuum cleaner as a strong vacuum is required for the process. The vacuum must be on and running before the heated plastic is placed over the template. The vacuum sucks all the air out to fully mold the heated plastic over the template object. After several minutes, the plastic is dry and the mold is ready.

Through 3D forming, you can save some valuable time and money on product design. Some materials can be pretty expensive though.
The following are the steps you need to follow to save up on design money through 3D forming:
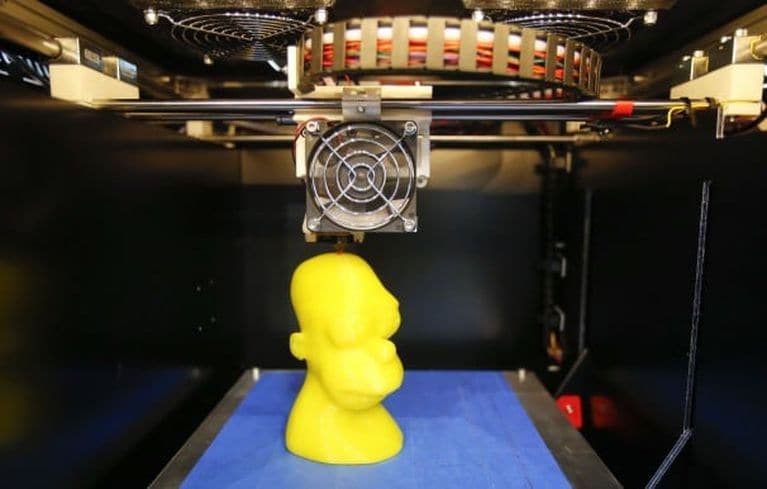
- Make use of 3D printing for your template. There’s no need to try and experiment with lathing or other artisan work when making your template. Save time and money by contracting a 3D printing and design service for your template. Or, if you plan to mass-produce through 3D printing, a good option would be to combine 3D printing with 3D forming. The first printout will serve as the template and 3D forming will help to fill in the rest.

- Or, if you’re a talented artist, sculpt the template using modeling clay or modify the template using it.
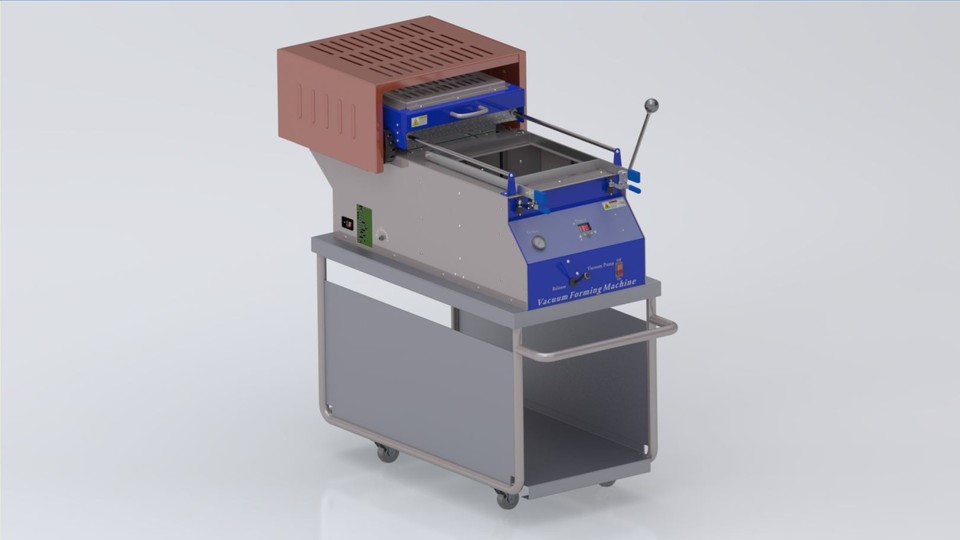
- Select the proper tool for the job. Depending on the product to be 3D formed, you can try a range of different forming tools. The most cost effective is the DIY approach for simple crafts like keychains or tokens but for more sensitive and detailed work, it’s best to get the proper 3D forming equipment that can support various plastic sheet material. The savings will be in the long run. But for short-term or one-off molds, you can look for a 3D forming service.

- Use the proper sheets depending on the product – don’t experiment. Do some research on the best material for a certain template. Experimentation will be the last resort.
- Use multiple templates at once. Use as many templates as possible per sheet in order to save up on plastic sheets as well as electricity for both the vacuum and the 3D forming equipment. But not so sparingly as to affect the quality of the mold.
